Lovro Kunic
DATA ENGINEER
Dataproc is a powerful data processing engine that can be utilized in many ways, but also as a humble data lab.
In the process of building the foundations of a data layer platform it’s good to consider creating small data exploration area. In that area we can use simple storage and cost effective processing platform for basic tasks like basic data checks performed on pre-automated datasets. Google’s Cloud Dataproc is a powerful data processing engine that can be utilized in many ways, but also as a humble data lab. This blog entry gives short introduction how to set that up.
ENABLE API
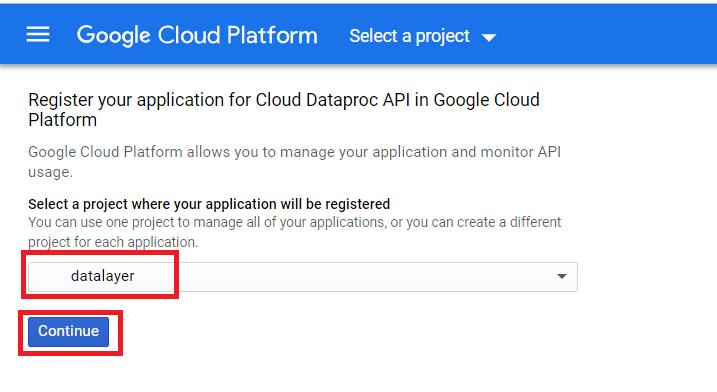
First you need to enable API per picture below using following link.
INSTALL SDK
If not already installed, install SDK using instructions on following link.
CREATE BUCKET
If bucket does not already exist create one using CREATE BUCKET button on this link and define:
- A unique bucket name: e.g. datalayer-storage
- A storage class: e.g. Multy-regional
-
A location where bucket data will be stored: e.g. EU
And now: the Installation steps
CREATING CLUSTER USING GCP SHELL
Run the following command:
gcloud dataproc clusters create dataproc--bucket= test-datalayer-storage --initialization-actions gs://dataproc-initialization-actions/jupyter/jupyter.sh
When prompted enter following value for region/zone: europe-west4/europe-west4-b
OR
USING GCP WEB UI (CONSOLE)
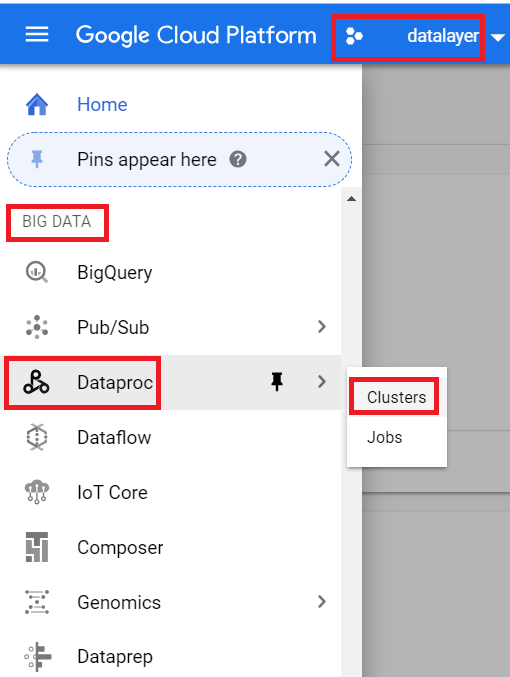
Navigate to DataProc Cluster List and click on CREATE CLUSTER button
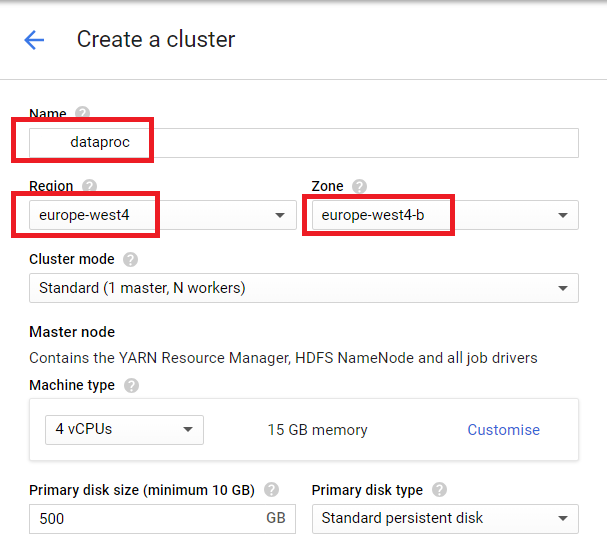
Define cluster name, region and zone attributes value then click Advance options.
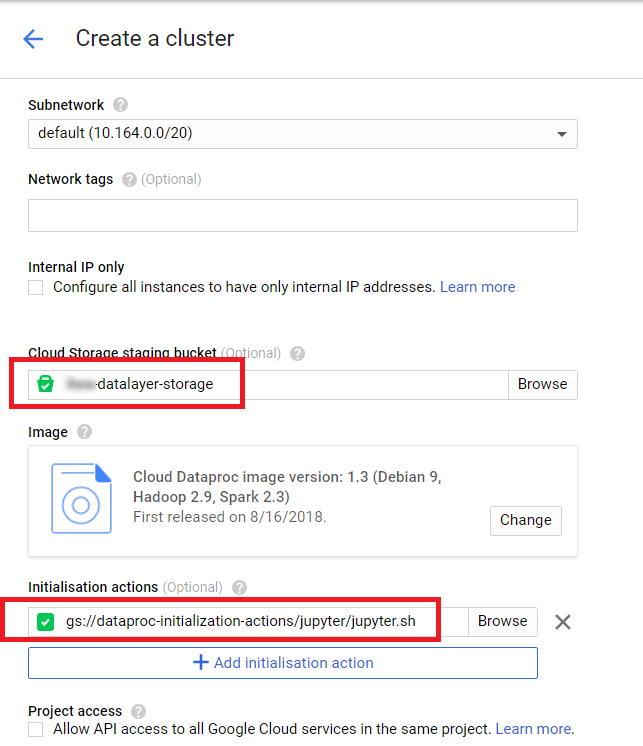
Define bucket and initialization action.
Click Create.
Post-installation setup -connecting to Jupyter notebook
Create an SSH tunnel
-
In GCP shell run following commands with proper values for PROJECT, HOSTNAME, ZONE attributes (WIN SO style) – click for more details.
set PROJECT=datalayer-test && set HOSTNAME=dataproc-m && set ZONE=europe-west4-b && set PORT=1080
gcloud compute ssh %HOSTNAME% --project=%PROJECT% --zone=%ZONE% -- -D %PORT% -N
Configure your browser
-
In command prompt run following- commands with proper values for PROJECT, HOSTNAME, ZONE attributes (WIN OS style) – click for more details.
set PROJECT=datalayer-test && set HOSTNAME=dataproc-m && set ZONE=europe-west4-b && set PORT=1080
"%ProgramFiles(x86)%\Google\Chrome\Application\chrome.exe" --proxy-server="socks5://localhost:%PORT%" --user-data-dir="%Temp%\%HOSTNAME%"
Connect to the notebook interface using link http://dataproc-m:8123
Jupyter notebook short reference
Creating new notebook
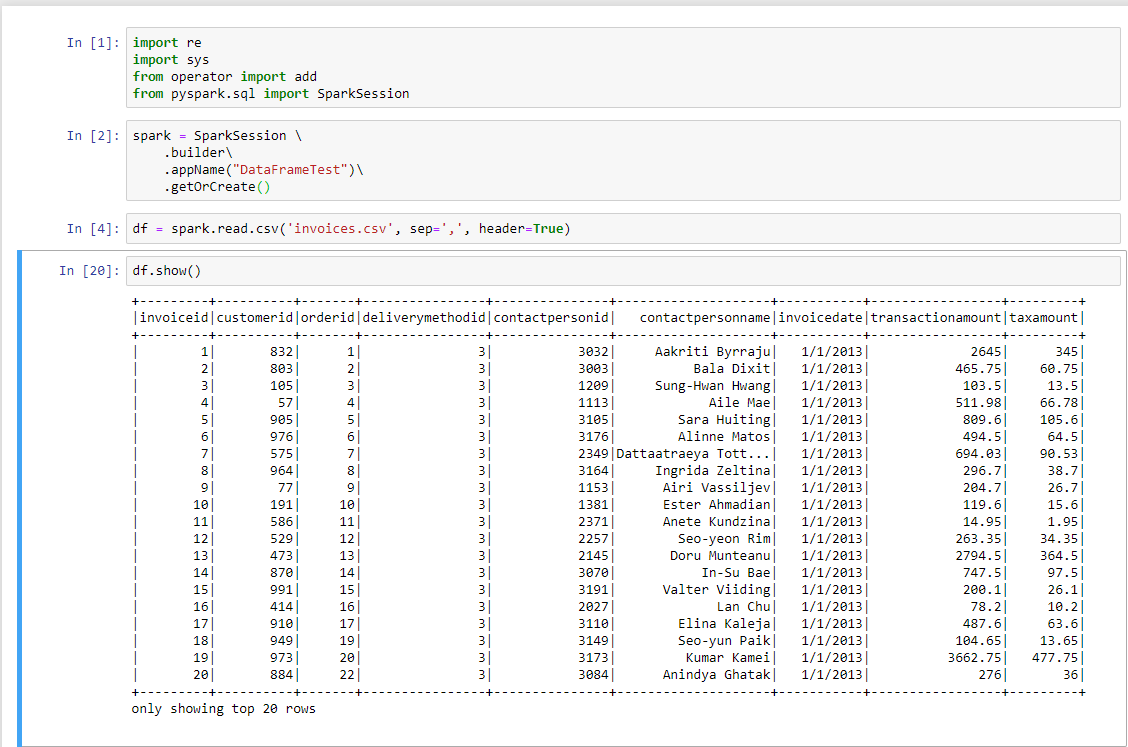
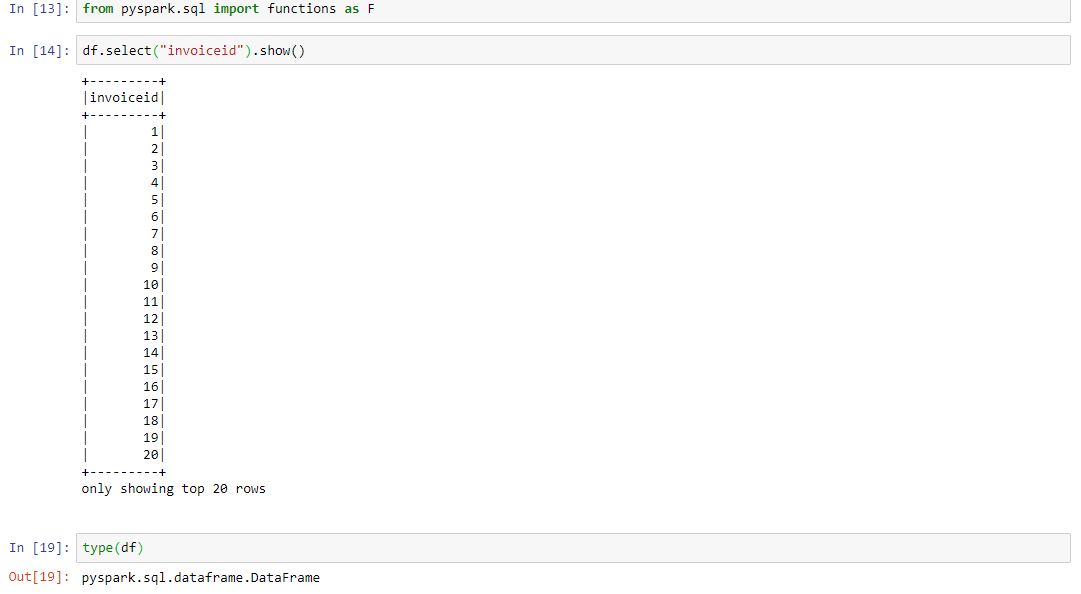
Sample pyspark code
-
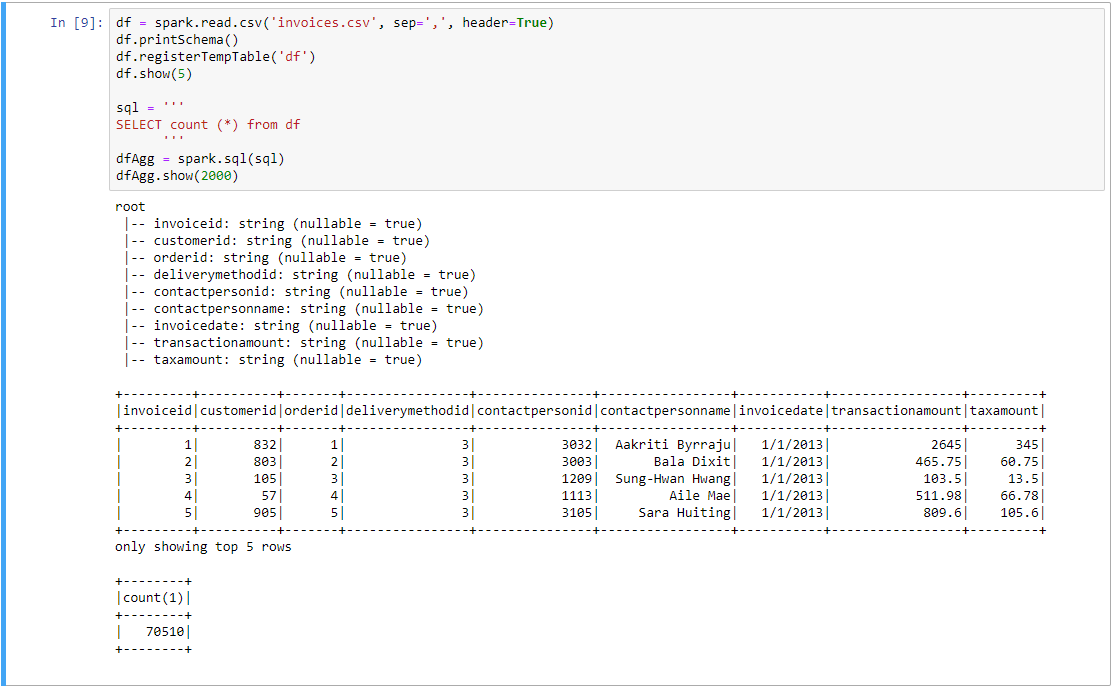
Connect to csv file (CSV_PATH in format gs://STORAGE_NAME/FILE_PATH)
df = spark.read.csv(CSV_PATH, sep=',', header=True)
df.registerTempTable('df')
- Executing query showing results
sql = '''
SELECT count(*)
FROM df
'''
dfAgg = spark.sql(sql)
dfAgg.show()
Example:
Have fun! 🙂

